Overview
Your ISP name appears throughout the NasRadius interface, including:- The browser tab title
- The sidebar header
- Customer-facing notifications (SMS)
Accessing General Settings
1
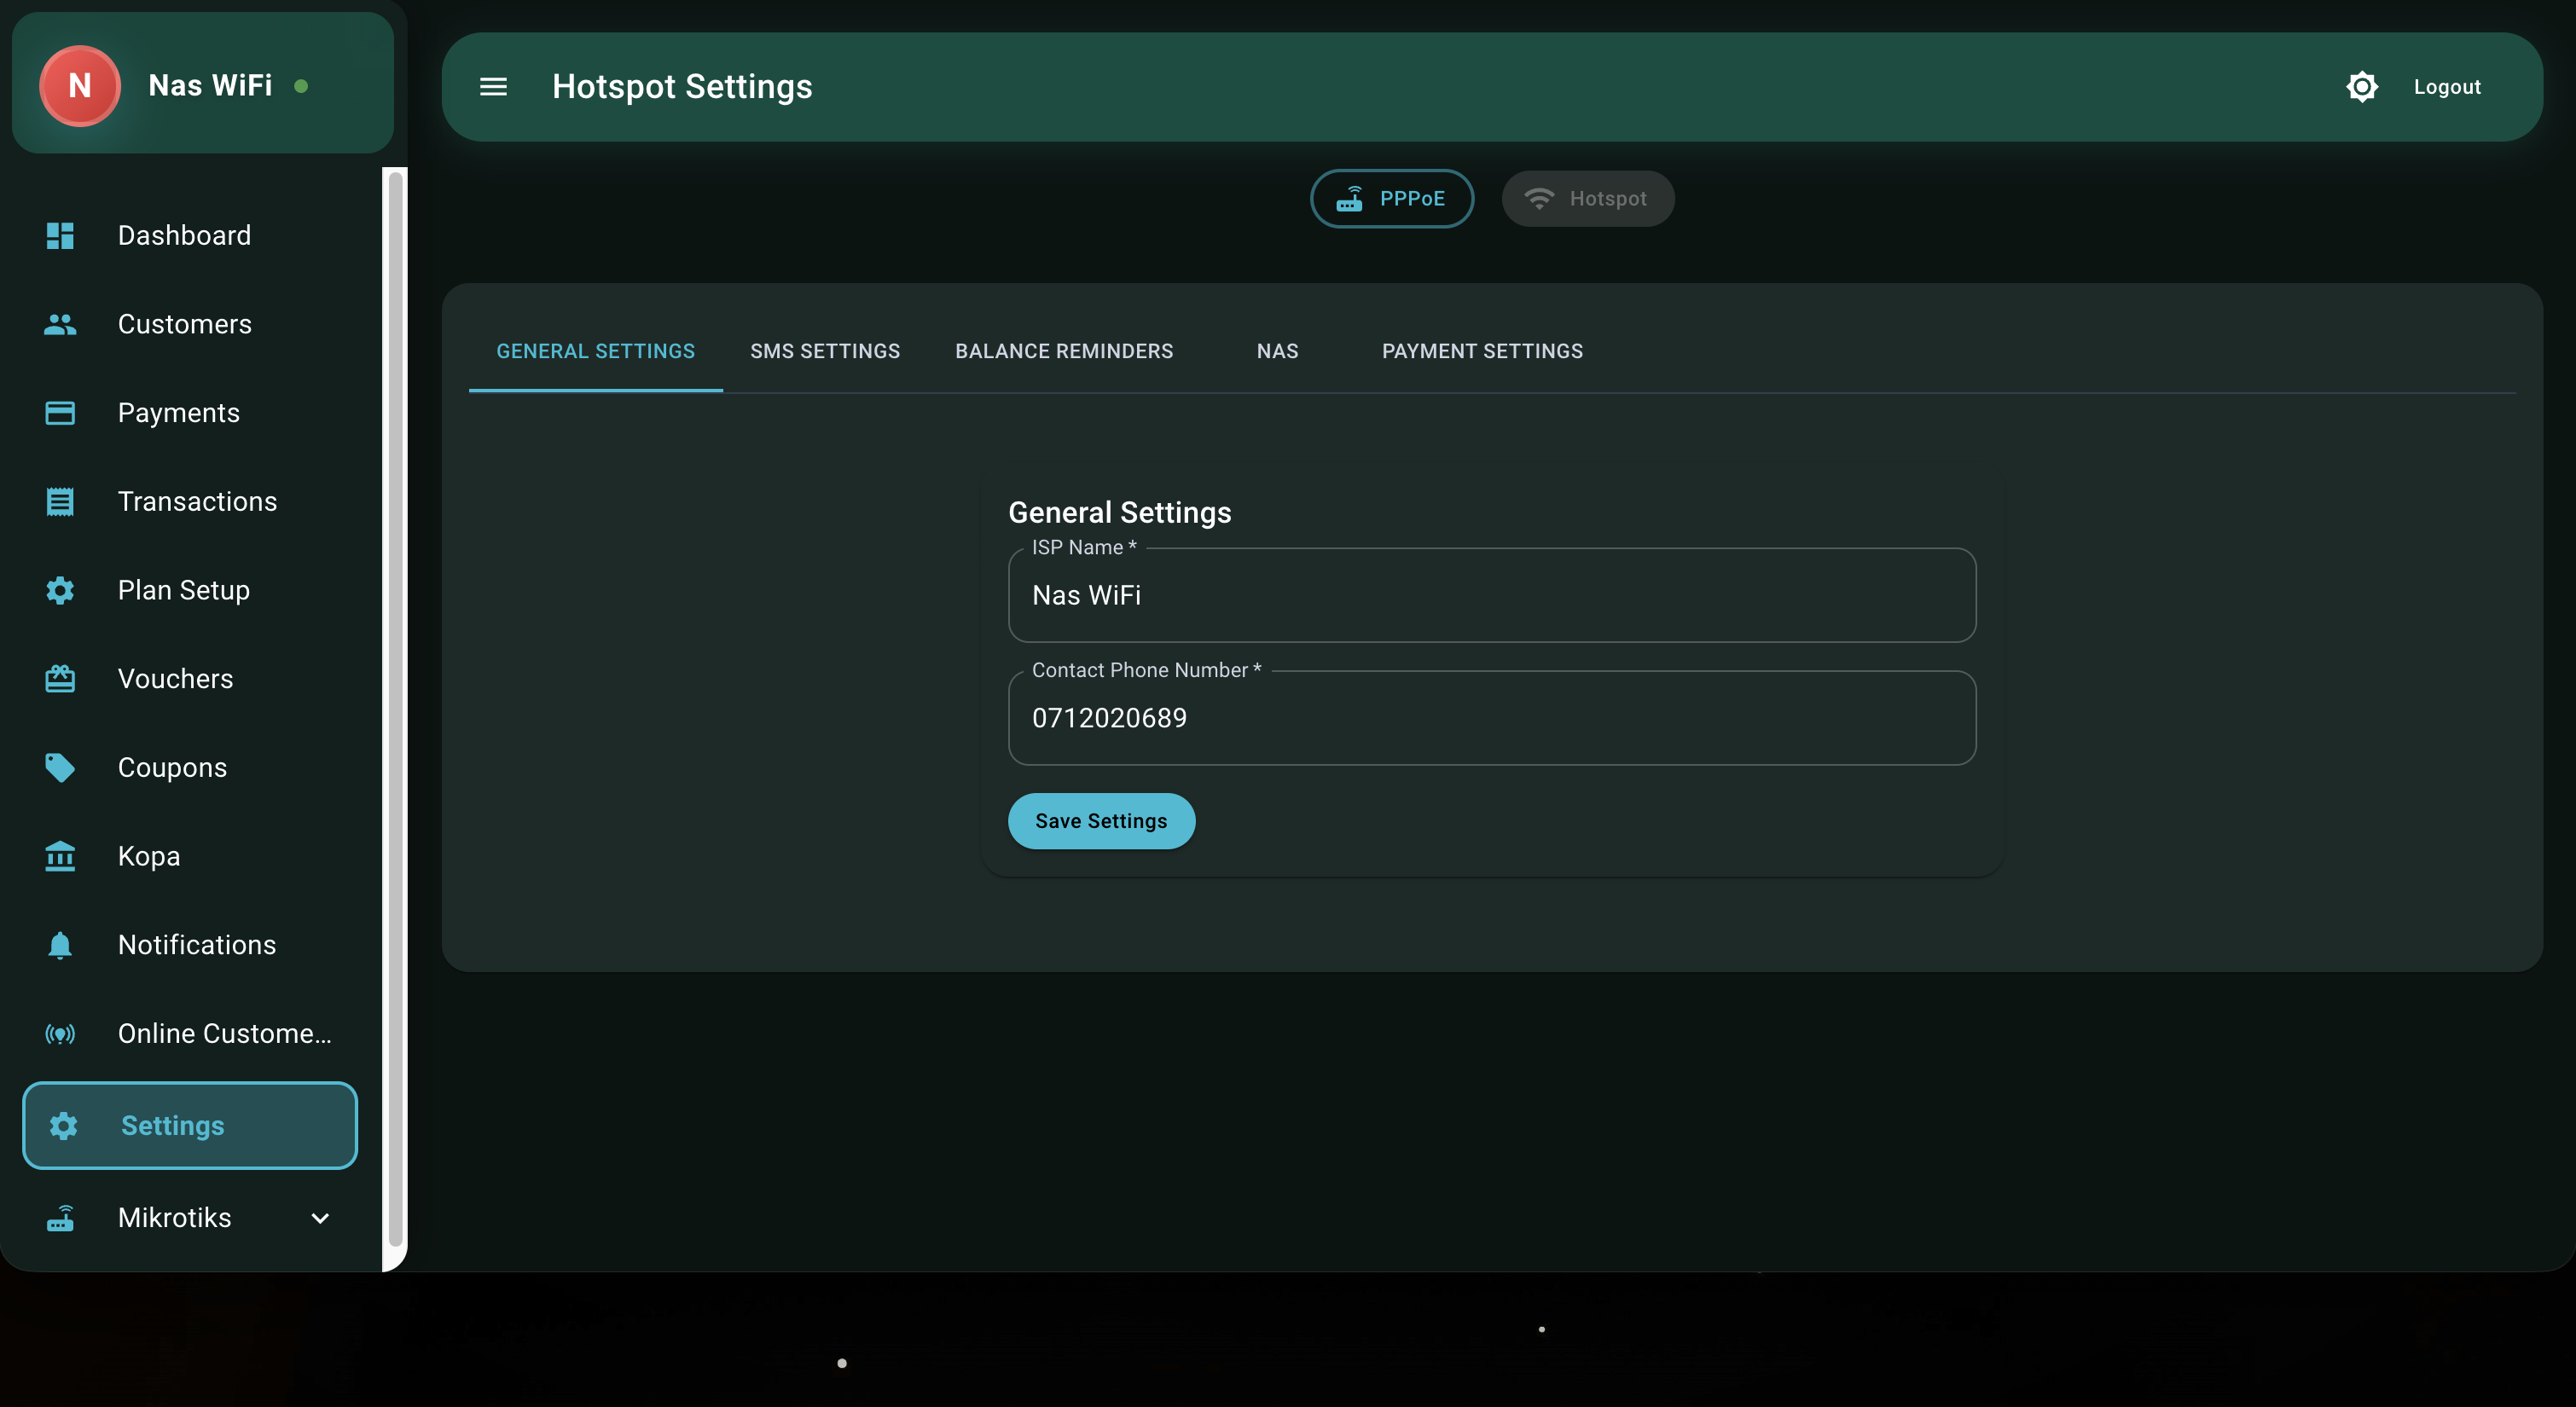
Navigate to Settings
Click on Settings in the left sidebar navigation
2
Open General Settings Tab
The General Settings tab should be selected by default. If not, click on it.
Changing Your ISP Name
1
Click Edit
Click the Edit icon (pencil) next to your current settings
2
Update ISP Name
Enter your desired ISP name in the ISP Name field
3
Update Contact Phone (Optional)
Enter your customer support phone number in the Contact Phone Number field
4
Save Changes
Click the Save Settings button to apply your changes
Example Configuration
| Field | Example Value | Description |
|---|---|---|
| ISP Name | ”Nas WiFi” | Your business/brand name |
| Contact Phone | ”+254 712 020 689” | Customer support number |
Where Your ISP Name Appears
Browser Tab
Shows as “FastNet Internet - Dashboard”
Sidebar
Displayed at the top of the navigation
SMS Messages
Used in automated customer notifications
Best Practices
Keep It Short
Keep It Short
Use a concise name that fits well in the interface (ideally under 20 characters)
Use Official Name
Use Official Name
Match your registered business name for professionalism
Valid Phone Number
Valid Phone Number
Ensure the contact number is reachable for customer support
Troubleshooting
| Issue | Solution |
|---|---|
| Name not saving | Ensure all required fields are filled |
| Name not updating in tab | Refresh the page (Ctrl+F5) |
| Old name showing | Clear browser cache and cookies |
Next Steps
Configure SMS Settings
Set up SMS notifications with your branded sender name